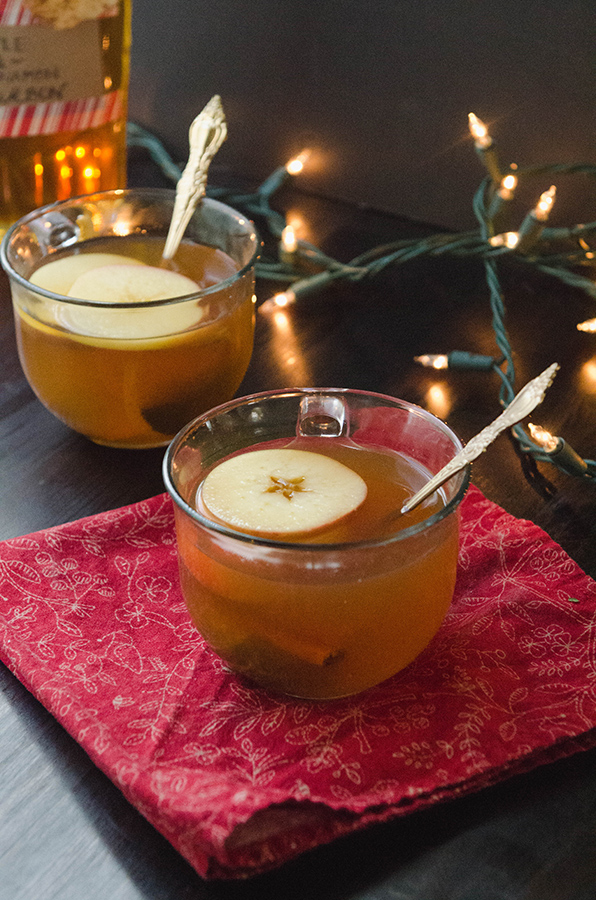
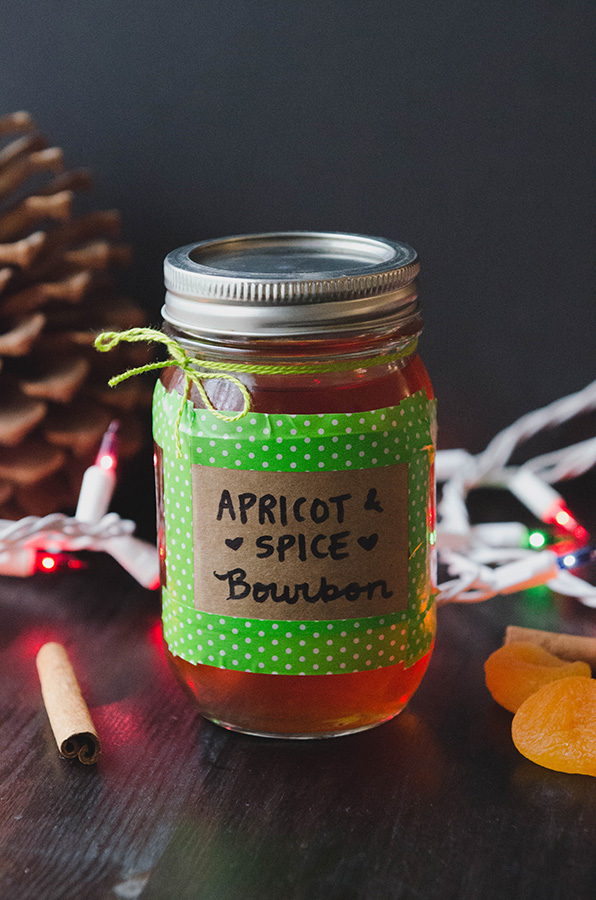
Apricot & Spice Infused Bourbon
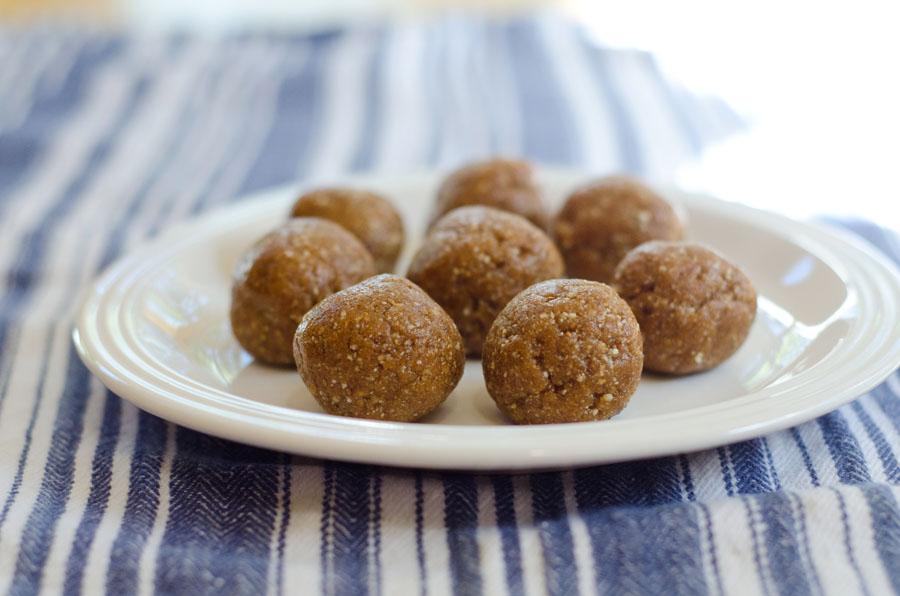
Few things say “Holllliiidaaaayyyy… Cellllleeeebrrraaaaate” to me more than shoving a bunch of fruit and spices into booze to make even FANCIER booze. We’ve done it before with this Apple & Cinnamon Bourbon, with which we’ve expertly crafted these Hot Toddies. But, now we’re delving into the world of dried apricots and ginger and other spicy spices. It’s a good place to be. It’s going to make one FANCY jar of booze-juice. Like, people should be excited if you’re their secret Santa. I mean… what would you rather have? A ten dollar gift certificate to Starbucks or a nice little bottle of home-infused boozy cheer?! If you said Starbucks, I don’t hate you… but, I’m not, like, totally into you right now. We can make up later. Here, have some of my legendary peace-making Vegan Chocolate Pudding. Better? Good. Now, let’s get infusing. […]