
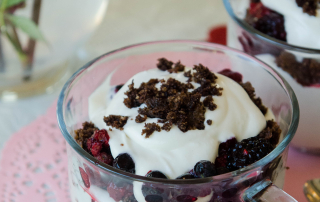
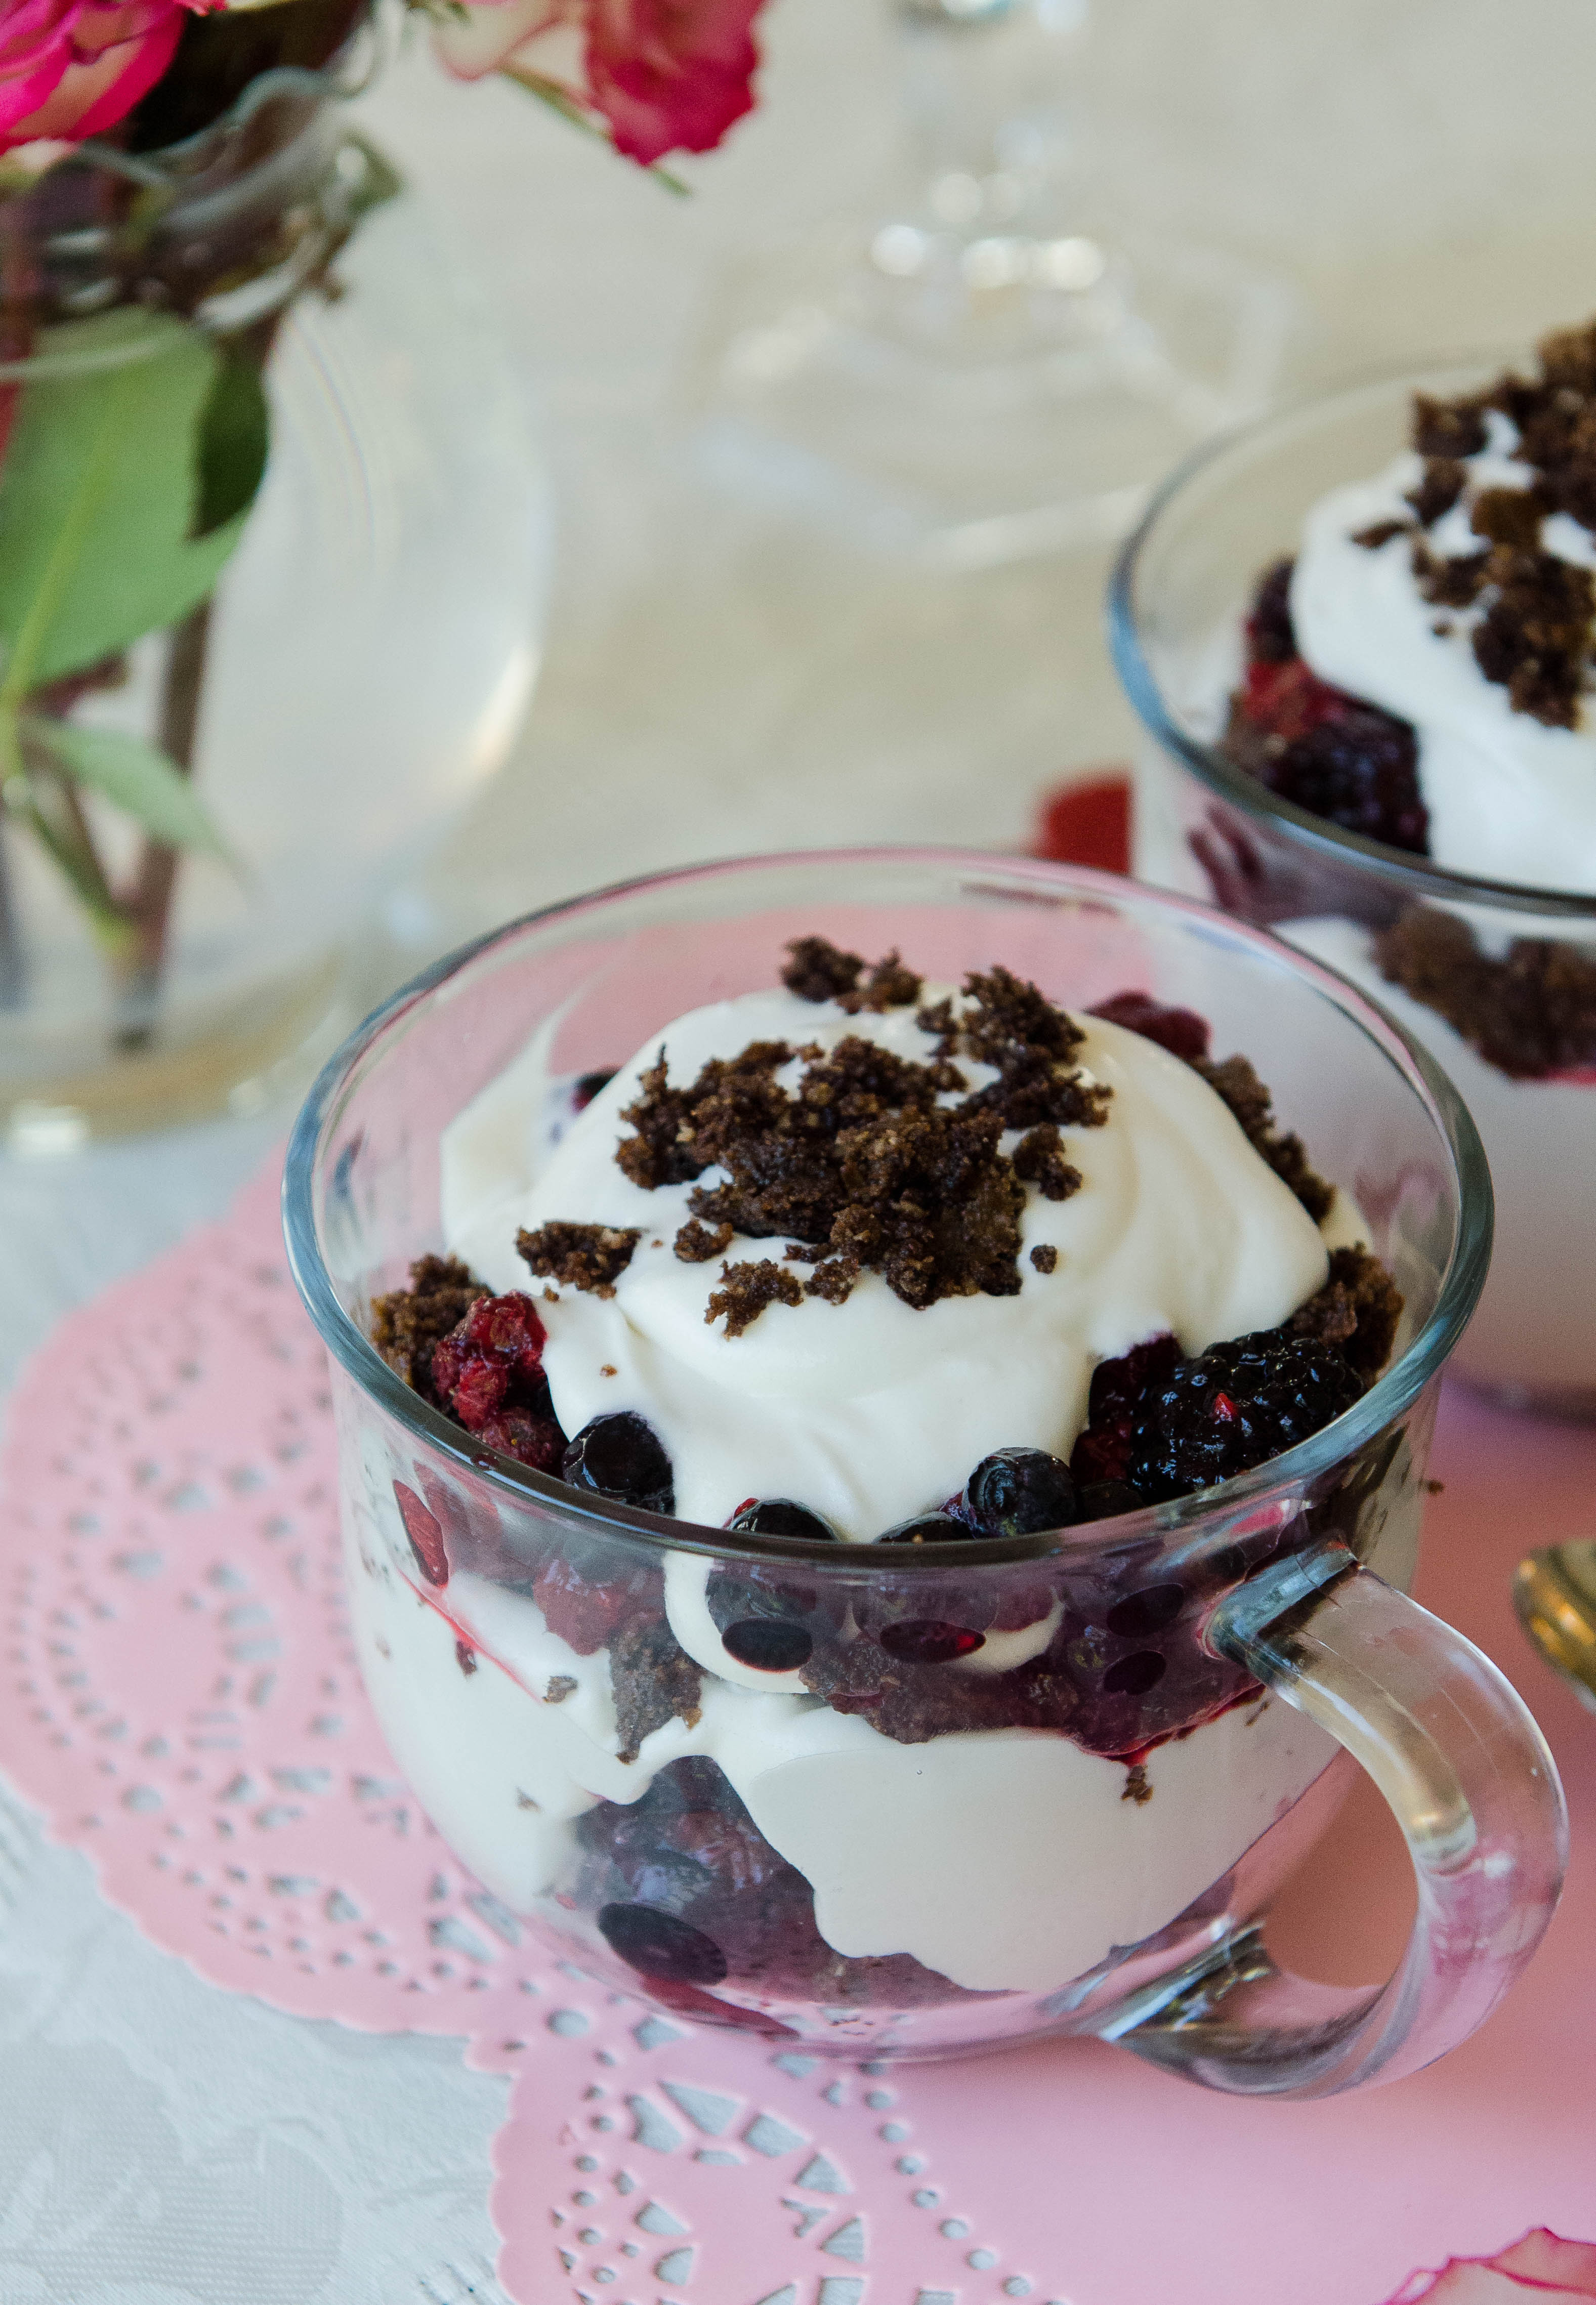
Grain-Free Cookies & Cream Trifle With Berries
I’ve managed to convince the resident cookie monster / husband of the house to write this post. It wasn’t hard, I just had to feed him cookies. Enjoy a little post from Peter! 🙂
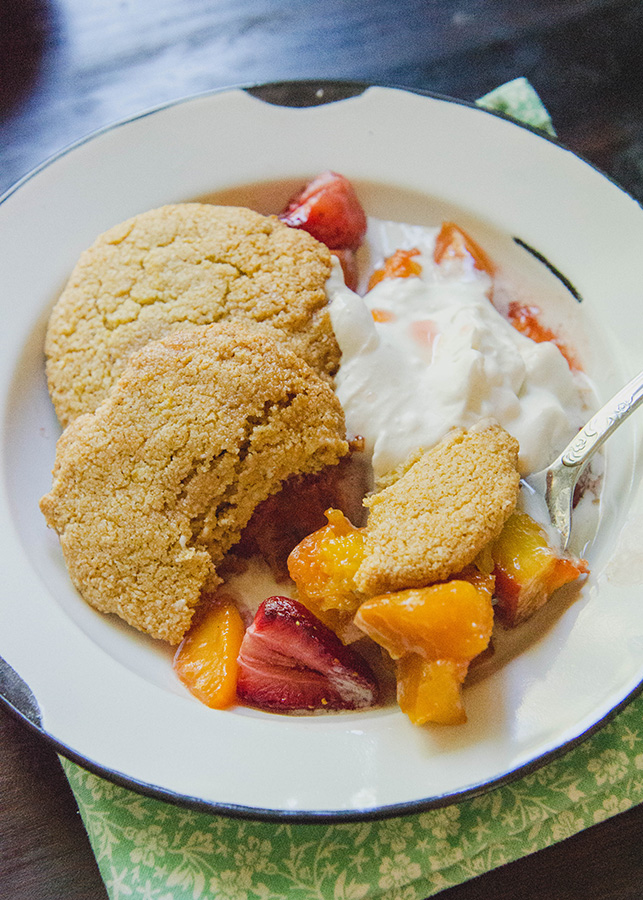
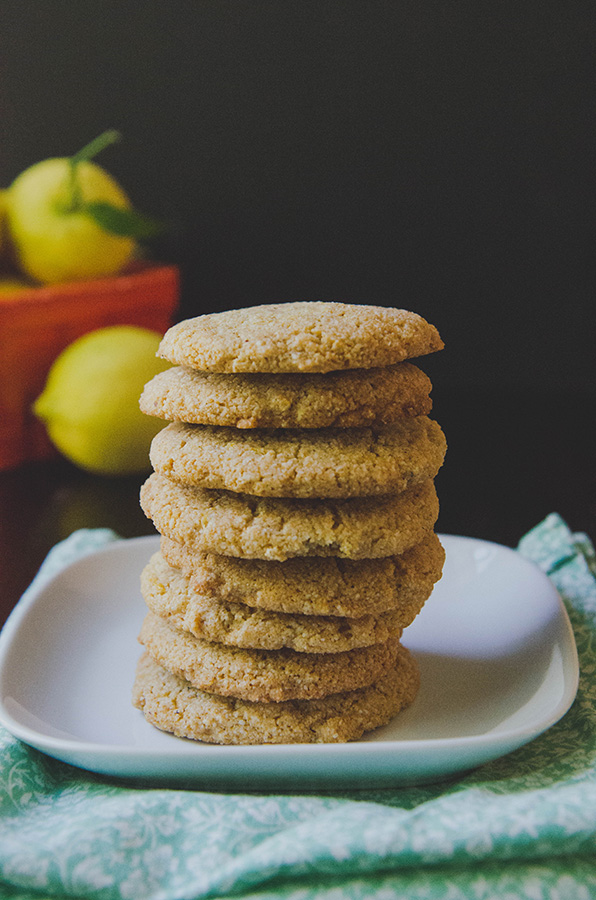
As my beautiful wife has created an increasing number of gluten-free desserts over the years, almond flour become one of my favorite ingredients. Almond flour has a richness normal flour can’t match, and when combined with simple sweeteners like maple syrup or honey, the results are delicious. […]


