When a neighbor calls and asks you to help harvest her vineyard in exchange for grapes… you go. At least, I totally go. I’m usually not one to turn down fresh produce. You know this. I’ve discussed my produce sluttery. I will work for food. Period.
It’s only later when you’re staring at a very large container full of harvested grapes that you think, “huh…what now?!” Like anything fresh, grapes have a shelf life, and you need to get on it kind of quickly before they ripen themselves to death, fermenting and exploding all over each other. Time to roll up yer sleeves…
Fast forward. It’s a Saturday night. I have an eye twitch. I’ve been washing and de-stemming grapes for over an hour. My fingers are purple. I have chosen to watch the movie Stepmom while taking on this project. Uh oh, here come the waterworks. Tears mix with my grape stained hands as I wipe away sobs. Susan Sarandon didn’t have to make that extremely sentimental magicians cape for her son, did she? Whoa. Ugh. So. MUCH. Crying. My husband calls me from a bar on his business trip. I have to explain to him that I am fine, but have just made the incredibly misguided decision to make grape jelly while watching a highly sentimental film. Nothing to worry about here (totally worry).
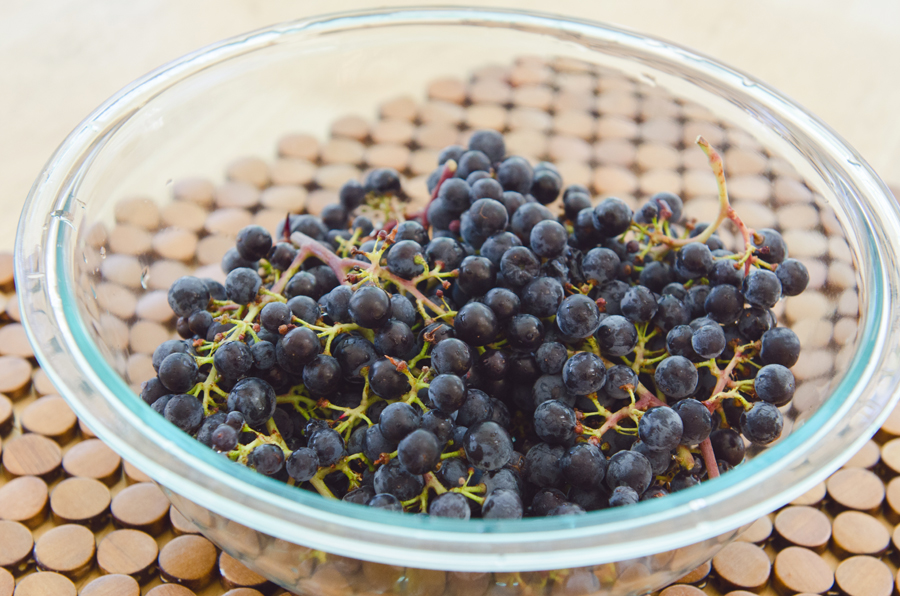
After all of the emotional de-stemming, I decided to process my grapes through a juicer. The grapes I was working with are intended for wine. They are different than the grapes you might purchase at the store. The skins are slightly tougher and they have little seeds inside. I was surprised at how easy they were to process in the juicer. Maybe it’s because I had stopped openly weeping at this point. Everything is a little tougher when you are in the middle of an ugly cry.
Now, if you are a SANE person who decides to make this recipe, I would say just start with some store bought 100% concord grape juice. This is THE BEST idea. But, if like me, you said yes to the vineyard and find yourself with a bucket full of wine grapes… you know what to do. E-mail me. I will send you a list of approved grape de-stemming movies. Hint: This list does not include Stepmom. You’re welcome in advance.
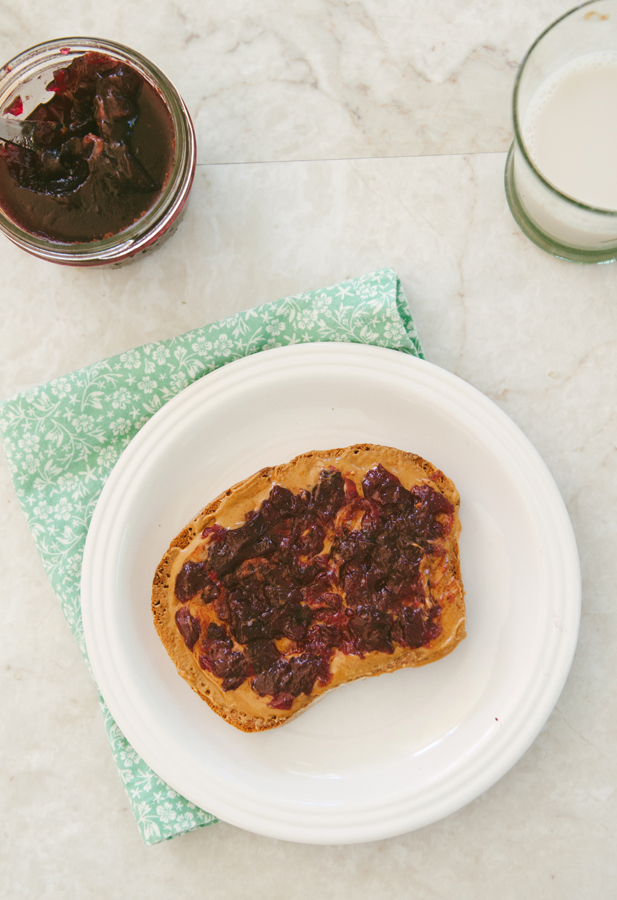
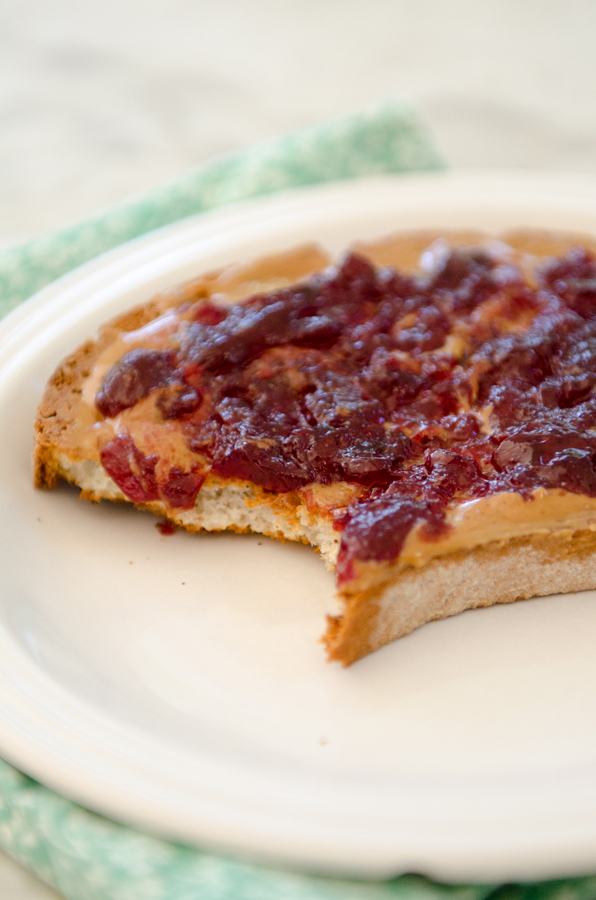
I would also like to note that since I started typing the first words of this post I’ve been singing “I don’t think you’re ready for this jelly! I don’t think you’re ready for this…” But the thing is, I DO think you’re ready. Look how ready you look. Should we do some of the Bootylicious choreography together? I’m going to pretend you said yes. It’s a good day for a shimmy. PB & J, anyone? I think you’re ready for this jelly. Let’s do it.

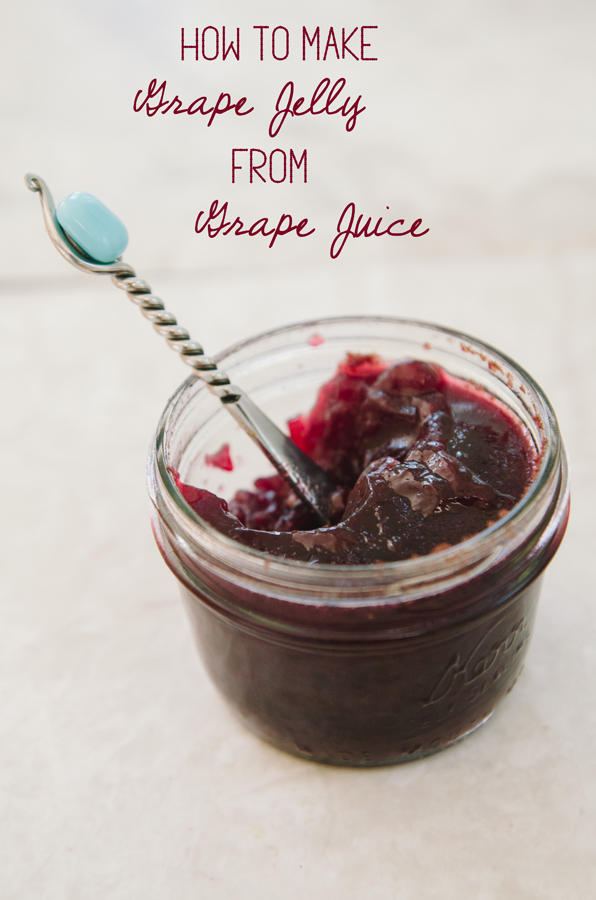
How To Make Grape Jelly From Grape Juice
Ingredients
- 6 cups grape juice (either freshly pressed or 100% concord grape juice)
- 8 tbs pectin
- 4 cups sugar (I used Zulka)
- 8 half pint canning jars and fresh lids
- Canning pot
- Jar lifter
Instructions
- Sterilize your canning jars. You can either run them through the dishwasher, or simply boil them in a large canning pot full of water. Allow the jars to remain in the water or in the dishwasher while you make your jelly. They should stay warm until it's time to fill them.
- Take your never been used canning lids and rings and put them in shallow pan of hot water. Allow them to sit there like this until you are ready to use them.
- In a large saucepan combine your grape juice and your pectin. Allow the mixture to come to a full rolling boil.Boil your mixture over high heat, stirring constantly.
- Add your entire measure of sugar and stir to dissolve.
- Remove your mixture from heat and skim any foam that has risen to the top of your pot.
- Ladle jelly into hot jars one at a time, leaving 1/4 inch of head-space in each jar.
- Wipe the rims of your jars with a wet paper towel to remove any spilled jelly from the rims.
- Center your canning lids on your jars, and apply your canning rings and adjust just to fingertip tightness.
- Place jars in your canner. Make her that they are covered by 1 to 2 inches of water.
- Put the lid onto your canning pot and bring to a boil.
- Once boiling, process your jars for 10 minutes.
- Turn off the heat and let your jars stand for 5 minutes before removing them out of the pot with your jar lifter.
- Lay out a clean kitchen towel on your counter. Carefully remove your jars using your jar lifter and set them to rest on this kitchen towel untouched for 8-12 hours.
- Check your lids after an hour of them being out of the water. The lid should not be able to be pressed down in the middle, but should instead be sealed tightly to the jar. If it is able to be pressed in, you will know that your jelly has not sealed properly and is not shelf stable. If this is the case, put that jar into the fridge and use it within the next couple of weeks.


Disclaimer: The nice people at Zulka provided me with a sample of their product for recipe testing and development. However, all opinions are my own.


I adore you and the fact that you have a sob fest over a sappy movie while making jelly. We were meant to be friends because I do the same silly things. *sigh! That jelly is drool worthy by the way.
Thanks, Meg! 🙂
I love grape jelly. I always thinks it’s an embarrassing childhood thing, but wine grapes make it classsssy, yo!
And Stepmom ALWAYS triggers the water works. Always.
Haha! Thanks, Cindy. Oh, and if you don’t have a billion wine grapes, you can still make a PB&J classy if you dunk it into a glass of merlot. There are options.
About how many lbs of fresh grapes would you say it took to squeeze out 6 cups of juice to make this? I will for sure try it with store bought bottled juice but I always think jams/jellies taste way better with fresh fruit.
Hi, Gina Marie. I greatly appreciate the recipe. I followed your recipe just yesterday and am pretty sure I followed it to a “t” but my grape jelly didn’t conjeal. It is more like grape syrup. The jars are sealed but I was wondering, is there anyway to “redo” or add something to help it conjeal?
Hoping you have an idea as to why it didn’t conjeal and/or offer some help to turn my grape syrup to grape jelly. Incidentally, I didn’t have grapes so I used Welches, 100% grape juice with no sugar added. Could this not be a sufficient juice? Thanking you in advance for any help you can offer.
Mine didnt jelly up either and I cant seem to see a reply to yours? did you figure out a way to re-do it? Please help. I made a bunch
She says to bring the mixture to a boil and to boil on high heat but she doesn’t say for how long. That could be the problem. Ihave o idea how long to boil it. I’ll keep looking at other recipes until I find one with better instructions.
i am useing a liquid pectin so how much do i usewith about 2 qts of grape juice thank you richard
Mmmmmmmmmm, grape jelly! And easy at that!
Mine came out a little gritty, but I think that had to do with not properly dissolving the sugar and pectin. I’d still make it again, though!
I just made this jelly from grapes I was going to turn into wine too! 🙂 Delicious and perfect. Thank you!
loved your rendition of making grape jelly. i, too, am a sappy movie watcher. our grapes are fresh, and taste sooo sweet that i dont think i will add sugar. ill let you know how things turn out. janice from galveston
She says to bring the mixture to a boil and to boil on high heat but she doesn’t say for how long. That could be the problem. Ihave o idea how long to boil it. I’ll keep looking at other recipes until I find one with better instructions.
Thank you so much.. I was literally sitting with my grapes that I know now are
For wine thinking… what the heck I don’t even drink I just wanted to make jelly. I had a juicer and just needed a little
Help!