 This post is sponsored by the lovely people at Crunchmaster. All opinions, and cheese plate-ery advice is my own!
This Valentine’s Day I’ve decided to do something a little different. Instead of the intense steak and lobster-fest my husband and I usually spring for, I’m keeping things simple by making us a big ol’ cheese board with all the fixings. It’s the ultimate in snack-dinner dining. You guys know about snack-dinner, right? It happens when it’s late, and you’re tired, and you end up eating a bowl of popcorn and an apple for dinner. Or, maybe you throw all caution to the wind and hunker down to eat a hunk of salami over the sink while gently sobbing about your life choices? We’ve all been there. This is the MUCH less sad version of that. This is fancy snack dinner. This is something to look forward to. This, my friends, is romantic.
When Pete and I were still just a couple of kids in our early twenties, we were living in sin in the middle of the San Fernando Valley — in an apartment I’m only kinda positively sure was both filled with asbestos and lead paint. If you’re sitting there and thinking, “where is the San Fernando Valley?”– it’s essentially Los Angeles, but hotter, cheaper, and where the majority of porn is filmed. But, to us, it was home.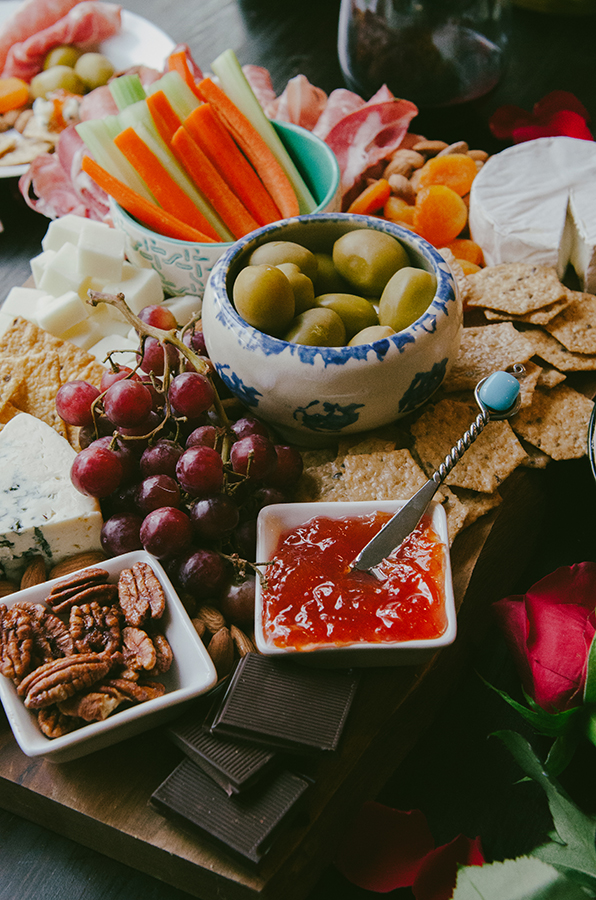
We were broke and totally in love. One of my favorite memories of living in that apartment was our pizza picnics. This is where you lay a blanket (or towel if you’re in a pinch) on the floor in front of the TV, order a pizza, and then stuff your face with said pizza while watching a romantic movie. It was cheap and kinda cheesy (heyyy-ooo pizza-pun!). But, it was perfect. That’s what I want to create this year for us. I want to do the adult version of our make-shift pizza parties. I will lay out an actual tablecloth on the floor (since we own one now). I will create a huge spread of cheese and crackers and meats and nuts and all the good things. I will stick it between us, and then we can watch one of our favorite movies and laugh and cry and drink wine.
But even though I feel like this is the perfect spread for a couple of love birds — there are so many other occasions where this would be PERFECTION. Knowing how to make a cheese plate can make you a very popular party host, or really jazz up any get together. I’ll walk you through my basics! I like to keep my spreads gluten-free, due to my own dietary restrictions — the cool thing is, if you do it right, no one will miss the gluten. 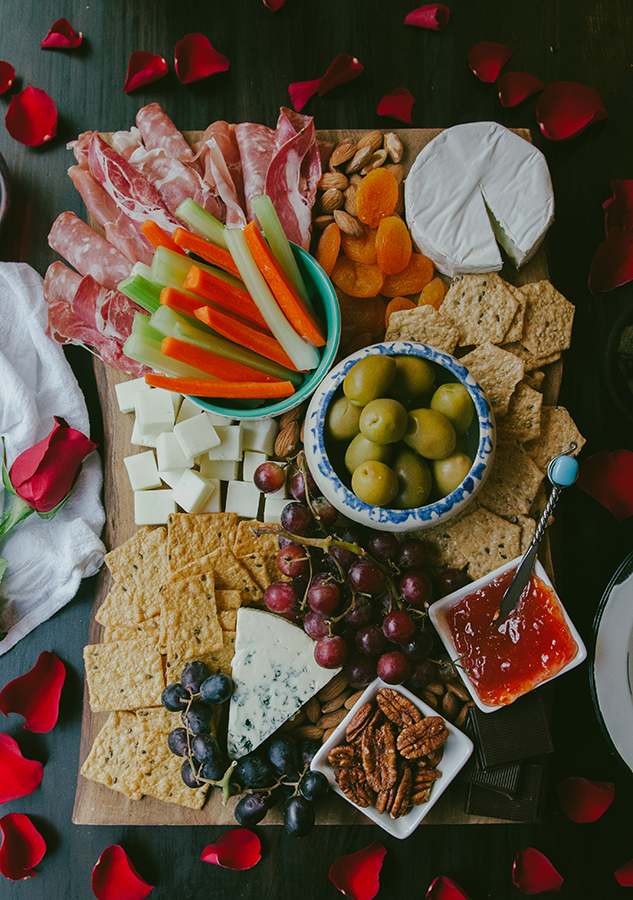
How To Make An Epic Gluten-Free Cheese Plate
Vary the types and textures of your cheese. If you’re going to have a hard cheese on the plate, balance it with something creamy. Vary the textures by cutting one type of cheese into chunks or slices while leaving others such as creamy brie or more crumbly cheeses whole. Don’t forget there are plenty types of cheese varieties — cow, goat and sheep! It’s nice to mix and match.
Balance sweet and savory on your cheese board. While we typically think of cheese as a savory thing, it’s charactaristic funk goes really well with sweets such as dried apricots or grapes.
Charcuterie is everything. It is literally the meat that holds it all together and makes this board into a meal. I like varying the types of charcuterie used. A classic salami is nice, but it’s fun to venture out and get wild with some prosciutto and other cuts of meat. Give yourself (and your guests) some choices!
Jam is very much your jam. Jams, marmalades, jellies and chutneys all make a wonderful sweet addition to the board! The sweetness balances the salty elements on the plate and the umami of the cheeses. One of my favorite pairings from this particular board was a cracker with bleu cheese and a bit of pink grapefruit jelly. It sounds strange, but it was AWESOME!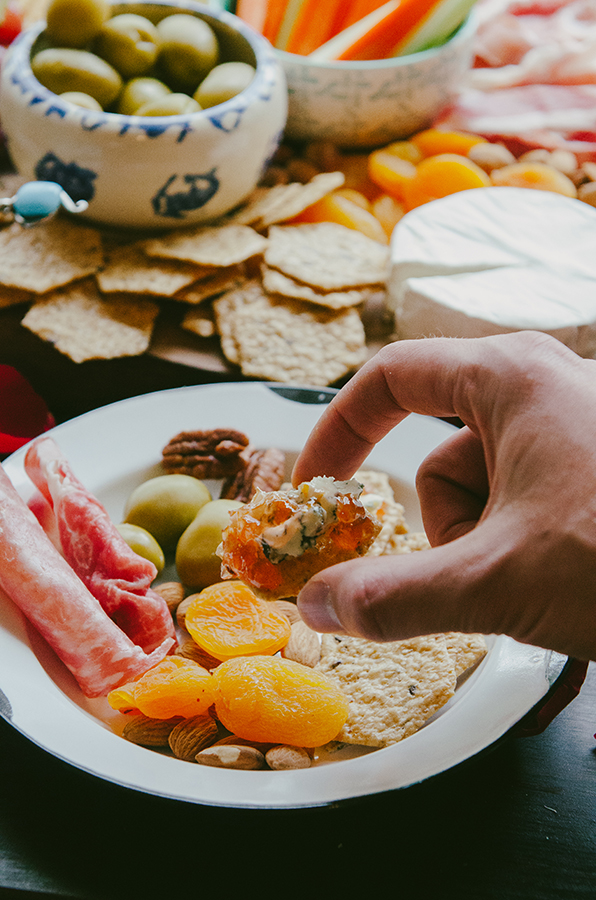
Add a couple types of crunch. Crackers are essential on any classic cheeseboard. Here I used two types of Crunchmaster gluten-free crackers. It was nice to have variety, and they went perfectly with all of the cheeses I selected. I also cut up some carrots and celery. Veggies are a great addition to add some freshness to the plate. Dunking a piece of celery into some brie is mighty fine.
Olives are also everything. This might be hyperbolic, but I really do feel this way. Having something briney on the board is almost like a palate cleanser for the richness of the cheeses. Experiment with different types of olives and pickles to create fun pairings!
Follow the 30 Minute Rule. Take the cheese out of the fridge 30 minutes before you plan on eating it. This allows the cheeses to come to room temperature. It allows all of the oils in the cheeses to come out and puts the cheeses at their peak!
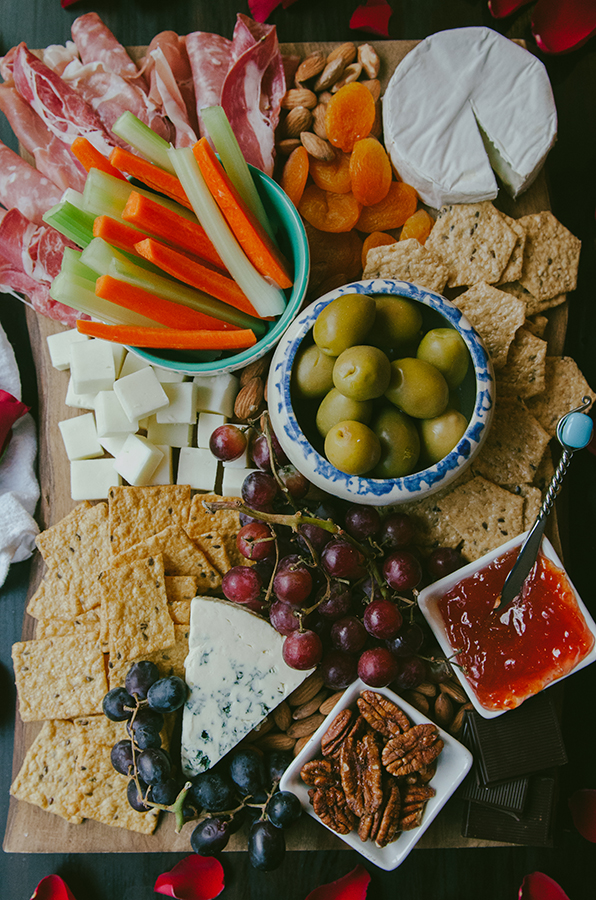
Organized chaos is the name of the game. When it comes to assembling your cheese board, you’re going to want to allow your creativity to flow. Put the wet ingredients such as the olives and jellies into small bowls and arrange them on the plate. Place the cheese spaced out around the board. Now, fill in the space with your various crackers, nuts and other goodies. You want them all to be in piles, but a little chaos can make it look nice. If you need inspiration, feel free to copy the look of my board, or simply troll pinterest like it’s your job. 😉
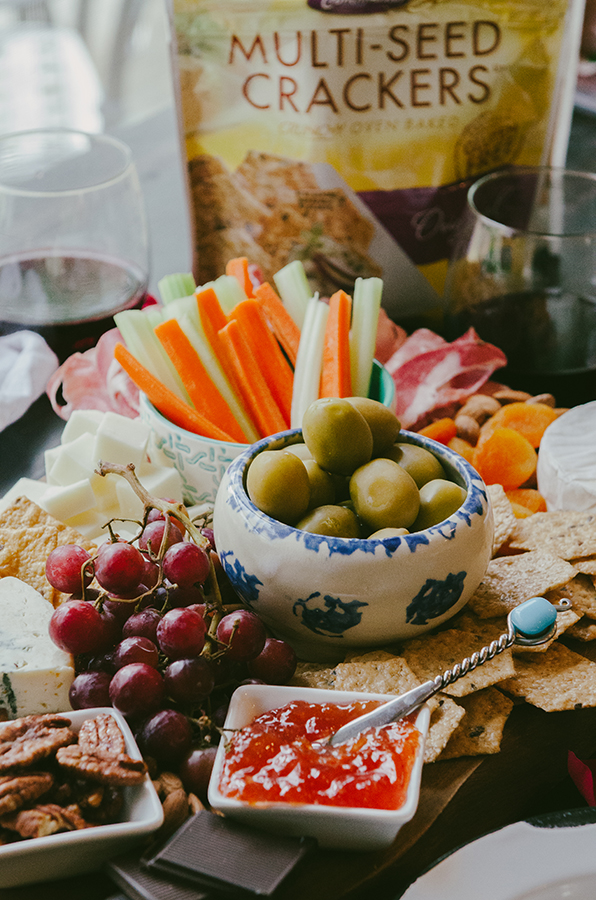
What I Put On This Cheese Board
- Giant Chalkidiki Olives
- Crunchmaster Gluten-Free Crackers
- Chopped Carrots + Celery Sticks
- Roasted + Salted Almonds
- Sweet + Spicy Pecans
- Pink Grapefruit Jelly
- Cubed Goat Cheddar
- Goat Milk Brie
- Bleu Cheese
- Red + Black Grapes
- Dried Apricots
- Salami
- Capocollo
- Prosciutto
- 72% Dark Chocolate
I got most of these ingredients from Trader Joe’s, such as the goat milk brie, dried apricots, jelly, and the olives– but, plenty of stores will have great options. Feel free to make it your own! There are endless combinations.

I hope you have fun creating your very own cheese board! What are some of your favorite things to have on a cheese board? Tell me your secrets! I’d love to know.




Informative for me