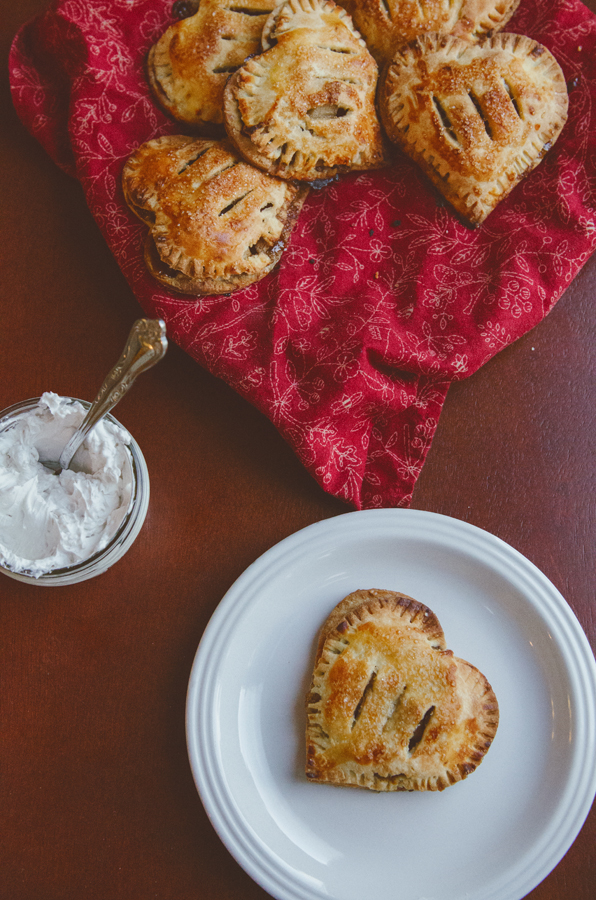
I’m not what you’d call a baker.
Meticulous measurements are not my thing. I’ve been known to “wing it” when it comes to cookies and the like. This is where you pick out a recipe and use it as a very loose guideline. It usually involves extra cinnamon and way too many chocolate chips. Perhaps this stems from my distaste for word problems or anything math. Or, perhaps it goes back to my inherent distaste for being told what to do. As a child, I once willfully poked a fork into my eye, simply because my mother told me not to. I wore this misdeed in the form of an eye patch for a few weeks while the puncture wounds from the tines healed. Not kidding.
Baking is like a series of escalating dares. I like to test its limits. Often, it pays off. I get lucky. I get away with it. We end up with something like these cookies, or these tartlets. Life is good. Then other times, I get stabbed in the eye with a fork. Metaphorically speaking, of course.
This past week I put on some Jewel and got fast and loose with some pie crust. Wrong. I was playing some foolish games, my friends (yes, Jewel puns). There was a situation. It was bad. Also, the only thing sadder than seeing a two year old wearing an eye patch is pulling a truly mediocre and slightly burnt pie from the oven. Okay, no, a two year old in an eye patch is worse. But, you get the picture. It’s not good. However, it’s totally humbling. Is that where that whole humble pie saying comes from? I get it. *Note: it’s not at all where that saying comes from. At all.*
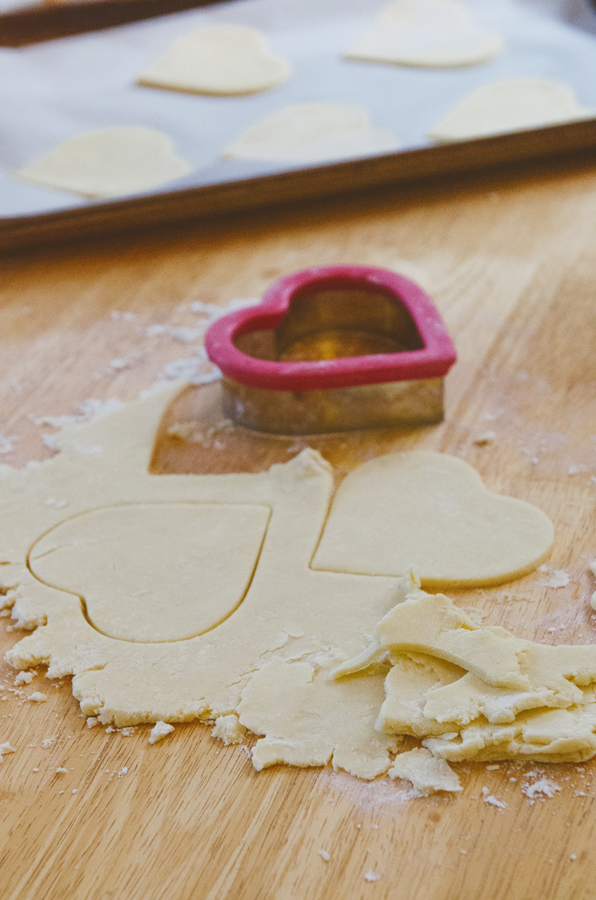
So, yesterday I got real with myself. I put down my metaphorical eye-puncturing fork. I measured everything. I didn’t try to get fancy. I broke out the big guns and used this fail-proof flour mix. There were two whole sticks of butter. There was buttermilk. I chilled it. I rolled it. I said a prayer. I did a pie dance. I cut out my pie dough into little heart shapes and filled it with cinnamon spiced apples.
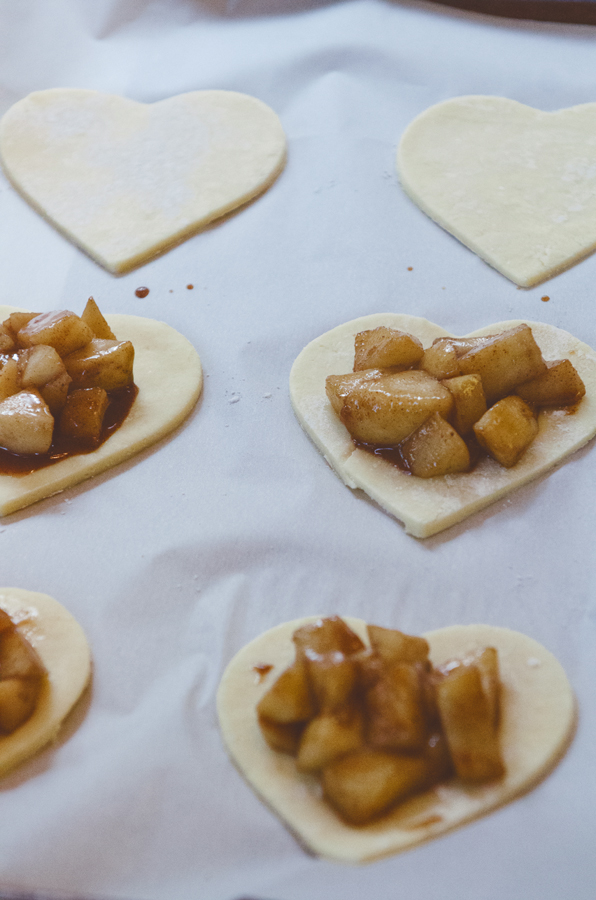
My husband and I consulted on whether I should make a full-sized pie or individual hand pies. We mulled it over and decided we liked the idea of being able to quickly and easily get this pie into our mouth with efficiency. My husband might have likened it to a “pie sandwich”. I like his brain. Also, tiny pie is super cute.
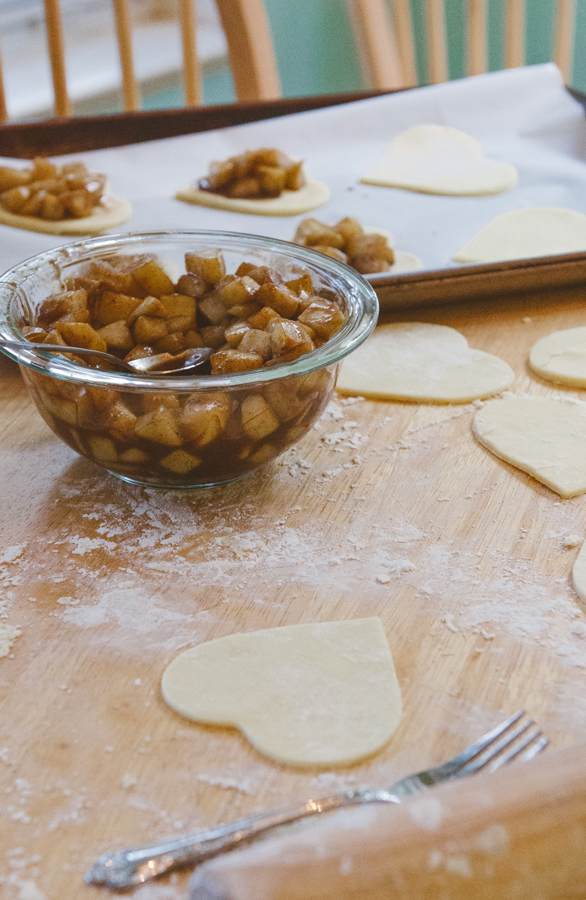
I will caution you that pie baking gets messy. This is a shot of my kitchen table in the throes of it. It gets worse before it gets better. You kind of just have to go for it. Maybe you get some flour in your hair. Maybe you catch your dog trying to sneak up onto the table and lick the bowl that contained your buttermilk. She’s the worst baking assistant ever. She’s totally fired.
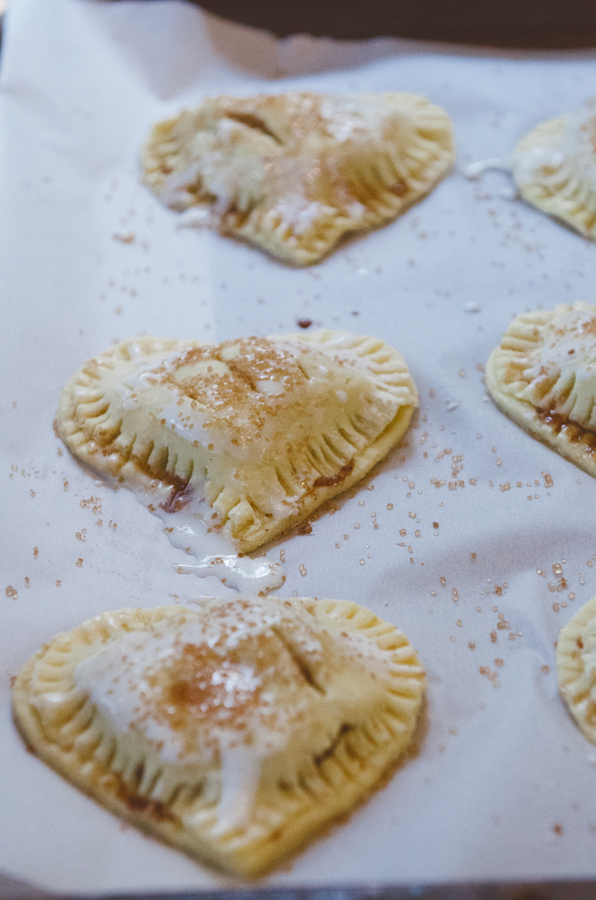
Don’t worry. It’s going to be worth all the muss and fuss. Trust me. Once you seal them up with a fork, brush them with buttermilk and sprinkle them with sugar, you are ready to stick them into the oven and let the magic happen.
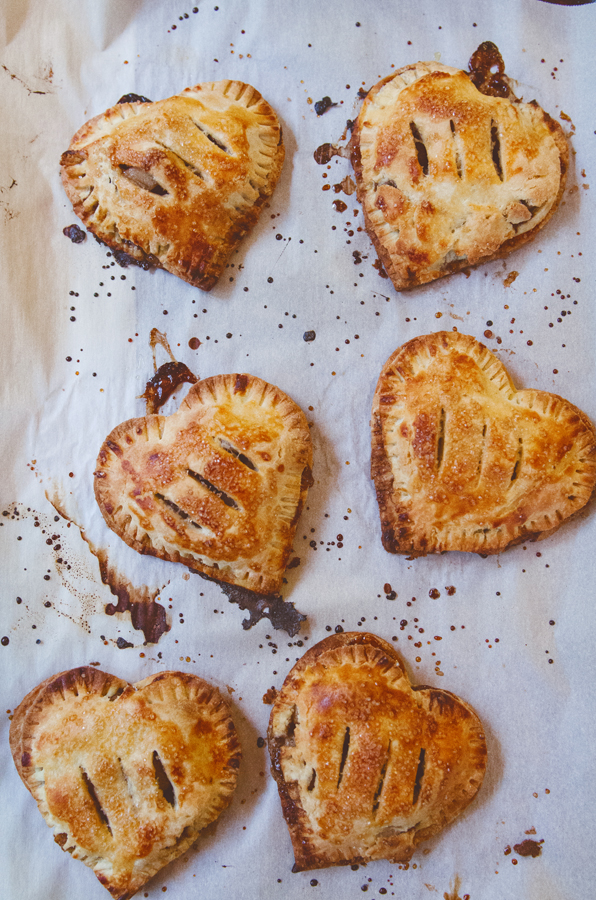
Fast forward twenty minutes later and you’ve got some hot little pies just begging to be put into your hot little hands. Caution: they really are hot. Bits of molten apple goo will actually burn your flesh. Just guess how I figured that one out…
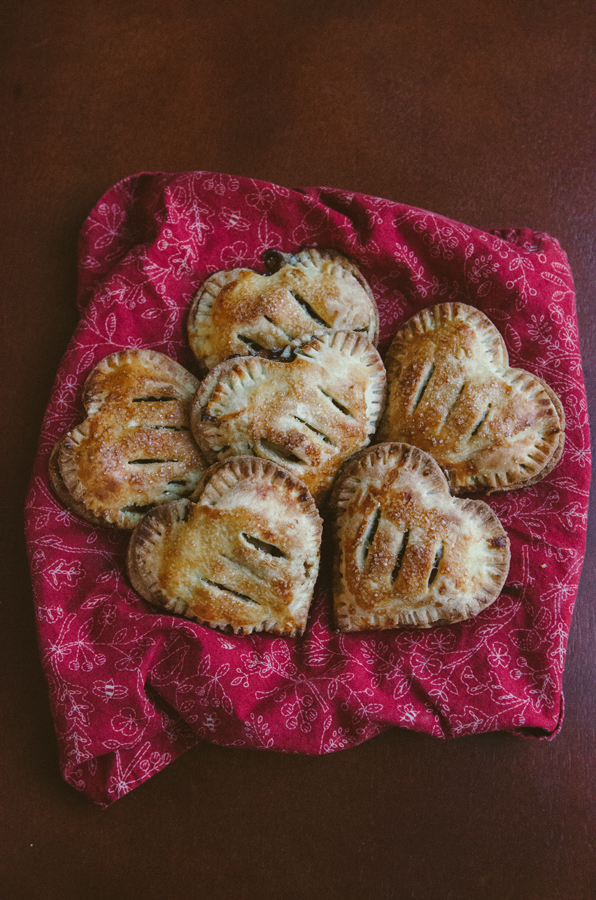
Once they have cooled slightly, all bets are off. Hot little hands, meet hot little pies. I used my cooling time to whip up a little coconut whipped cream. Lemme tell ya, that stuff is kind of magic when it’s slathered on top of one of these little pies. Regular whip would also be divine. Heck, why don’t you just throw one of these in a bowl of vanilla ice cream? All good things.
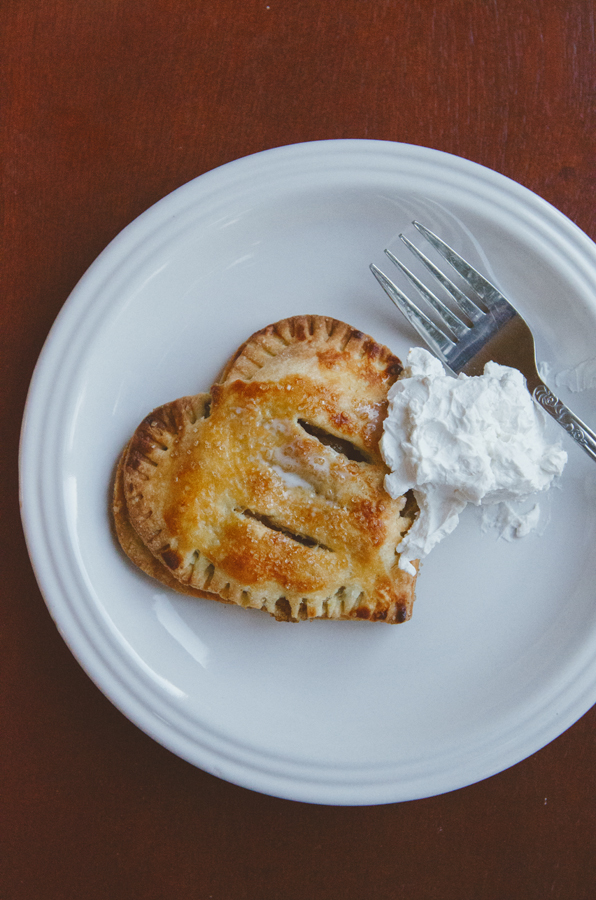
As I bit into my first pie (yes, maybe I had more than one) I felt a sense of accomplishment. It’s like I aced my math test. I followed that word problem. Sure, I’m more of an art student, but I just nailed that chemistry exam. I measured all the things. Heck, I felt like a baker. Well, at least like I was passing. And, you know what? I managed not to puncture anything with a fork. Life is totally good. I’m not wearing an eye patch.
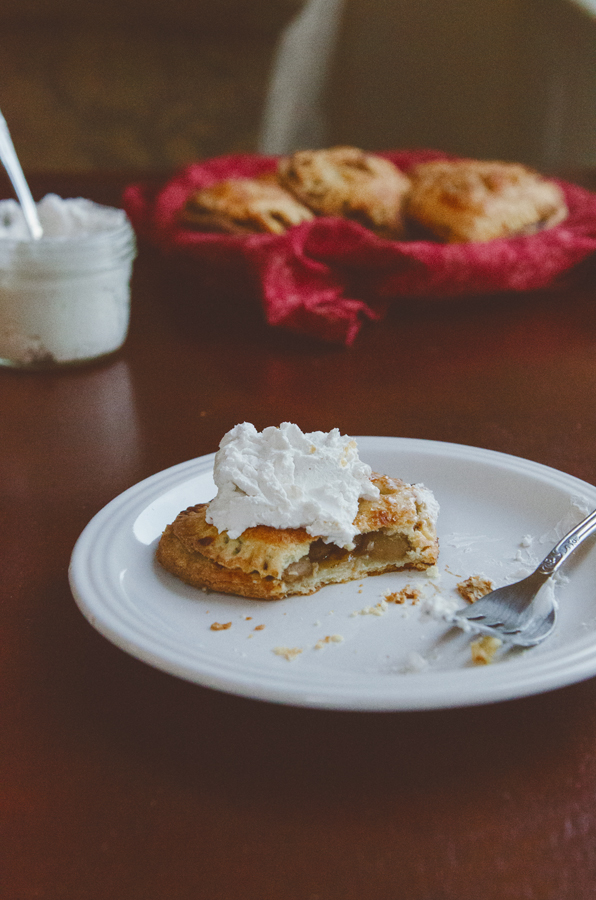
Enjoy, Friends! I hope that these sweet little treats find a spot on your Thanksgiving table. xox
Gluten-Free Buttermilk Apple Hand Pies
Pie crust recipe from Joy The Baker
Ingredients
Pie Crust
- 3 cups Cup4Cup Gluten-Free Flour , plus extra for rolling out the dough
- 2 tablespoons granulated sugar
- 1 teaspoon salt
- 1 cup ( 2 sticks) of cold, unsalted butter, cut into cubes
- 1 large egg
- 1/2 cup cold buttermilk, plus more for brushing on tops of pies
- 1 tbs course sugar
Pie Filling
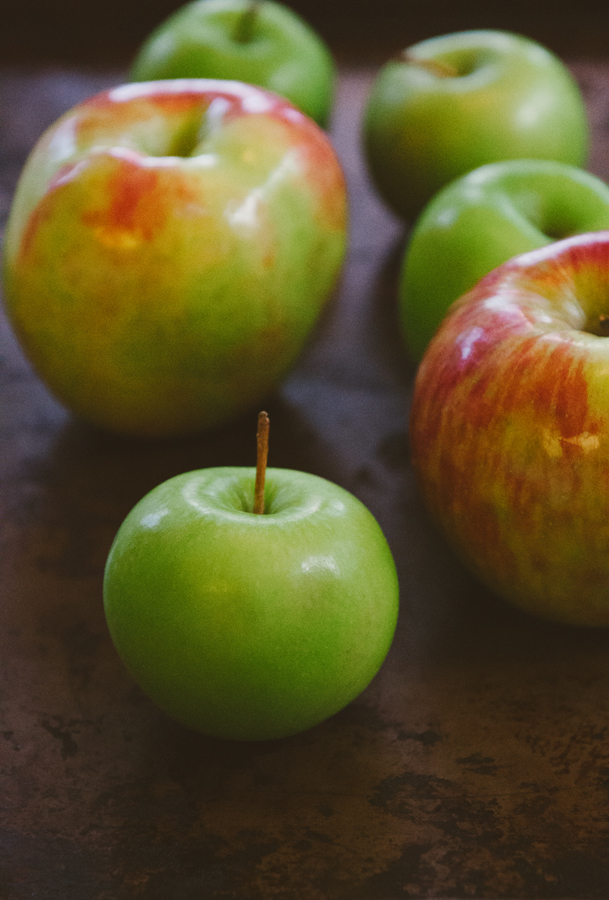
- 4-5 apples, I used a combo of Granny Smith & Pink Ladies
- 2 tsp cinnamon
- 1/2 tsp cloves
- 1/2 tsp nutmeg
- 1/2 cup brown sugar, firmly packed
- juice of 1/2 a lemon
- 2 tsp arrowroot powder
- 2 tbs unsalted butter
Instructions
- In a large mixing bowl, combine your flour, sugar, and salt. Whisk together until it is well combined.
- Add in your cubed cold butter. Work the butter into the flour mixture with clean hands. You will start to get a shaggy mixture. The butter will break down into different sized chunks. Some will be the size of oat flakes, others will be the size of peas.
- In a smaller bowl whisk together your buttermilk and your egg.
- Create a well in your dough mixture, and pour your buttermilk mixture into the center of that well.
- Using a fork, work the wet ingredients into the flour and butter mixture. Do your best to moisten all of your flour mixture. Your dough should come together and be both moist and a bit shaggy.
- Turn your dough out onto a floured surface and split it into two even pieces. Shape these even pieces into discs, flour them, and wrap them in plastic wrap.
- Set your wrapped dough to chill the fridge for about an hour.
- While you wait for your dough to chill, peel all of your apples and chop them into small and manageable bite sized pieces.
- Add them to a bowl with your spices, brown sugar, arrowroot powder and lemon juice. Stir until they are well combined.
- In a large skillet, heat up your 2 tbs of butter. Add your apples to the pan and cook for 5-8 minutes or until the fruit starts to soften.
- Once the fruit starts to become soft, remove your apples from the heat, put them in a separate bowl and allow them to cool completely.
- When your dough has finished chilling, remove it from the refrigerator and allow it to sit out for a couple of minutes.
- Preheat your oven to 350 degrees and line two baking sheets with parchment paper.
- Using a well floured surface and a well floured rolling pin, roll your dough out to about an 1/8 of an inch thickness. Using a large cookie cutter (I used a heart shaped cookie cutter, but you can use whatever you have on hand. A circle would work great.) cut out your dough. Place your cut out dough onto a parchment lined baking sheet. Keep reshaping your scraps and cutting out shapes until you've used up all your pie dough.
- Place a small amount of filling inside of your dough. Try to omit as much of the liquid as possible so that your crust does not get soggy. Take another one of your pie dough cut outs and place it directly on top of the dough that contains the filling.
- Using a fork, gently seal the edges of your pies by pressing the tines into the dough all around the edges. If you fill your pastry up too much, the dough will begin to break.
- Once you have repeated this step on all twelve pies, use a knife to cut a couple of slits in the tops of your hand pies.
- Using a pastry brush, brush the tops of your pies with buttermilk and sprinkle with course sugar.
- Bake pies for 20-25 minutes or until they turn a beautiful golden brown.
- Allow them to cool for 10-15 minutes and then serve them warm with whipped cream or ice cream.
- Enjoy!






Oh dear Lord! These look fabulous… I will take 3 pie sandwiches please:)
hahaha
I’m not going to lie, these look pretty stinkin’ tasty!
Thanks, Becky! 🙂
I love drooling over your photography. It’s amazing. That alone makes me want to make these hand pies. Yummy!
Aw, thanks so much, D! 😀
I HEART this. (Bladow!) Question: before you whisked your egg, did you break the yolk and make a smiley face? 😉
You are a magician, lady! These are so amazingly perfect! Now – get down here and make some for me, please and thank you!
Yaaaay:) I just discovered your blog – oh boy! :)! I’ve never followed a blog before but I’m nearly certain this is the beginning of a fun little way to spend my time! I love love love everything you’ve posted- I spent quite a while clickin “see older posts” 🙂 what a treat! So inspired by you. Thank u thank u to the moon (it’s full tonight yippeeee) and beyond!
Well, these are definitely the cutest thing I’ve seen all day! And I’d like a few pies myself, even though I already housed a few Christmas cookies. (Because I’m baking Christmas cookies already. Heaven help me!)
Way to go on these! And way to feel like a baker… though I feel like a baker with an eyepatch would be super serious and legit. … No?
You impress me so much every week and not just because you’ve mastered hand pies. Just because you’re awesome.
I’ll be sharing the heck out of these and perhaps giving it a go at my own {one day}.
XO SHERRIE
These hand pies are so cute! And they look delicious!
They are so beautiful!
Adorable! I will try these for sure – I know my family would love them 🙂 Wonderful recipe!
Oh. My. Lord. I am just drooling all over the keyboard! I have to make these for sure…one question: Did you make your own coconut whipped cream or is it by the can? I asked, as I’ve never had it and not seen this in the grocery store. Would love your recipe for it!
Hi Jude! I made my own. It’s really easy to do. Allow a can of full fat coconut milk sit in the fridge overnight. Take it out the following day and open your can. There will be solid coconut cream on the top. Scoop out the solid coconut cream and add it to a bowl or a kitchenaid mixer. Add in some sweetener (such as honey or maple syrup). You don’t need a lot, maybe just a tablespoon or so. Whip the mixture either with an electric mixer or the whisk attachment on your kitchenaid. And… voila! 🙂 I should probably do a post on this at some point.
What little beauties!
Oh my gosh, I absolutely adore these! I can’t wait to make them.
[…] Buttermilk Apple Hand Pies from So Let’s Hang Out “I’m not much of a baker. I have issues when it comes to following directions, and tend to take a more “fly by the seat of my pants” route when it comes to my cooking methods. This whole attitude works well for savory cooking, but not so much with the precision of baking. I’ve learned this many times the hard way. Making a successful gluten-free pie crust was a huge triumph for me. I felt like an art student that had aced a science exam. I’d love to make these again for my family over the holidays and show off my new baking chops.” […]
[…] This lovely info-graphic will clear up any apple eating + dessert making […]
Hola: I saw a photo of these scrumptios pies and it inspired me! If you want I can send you a photo of mine, when done and let you know how they come out, thank you and have a great week!
Lupe
I’ve made your recipe last fall with good success but had to try to make them vegan this year due to a teen’s diet change. It worked! I used a chia egg substitute (1 T ground chia mixed with 3 T water to gel) and coconut oil for the butter. I did get the coconut oil cold so it could be mixed like the directions for butter. Instead of buttermilk, I used just regular nondairy nut milk (I had Silk Protein Almond/Cashew milk.) It worked! Not as pretty but very good. Thank you again! Gluten-free AND vegan AND so good!